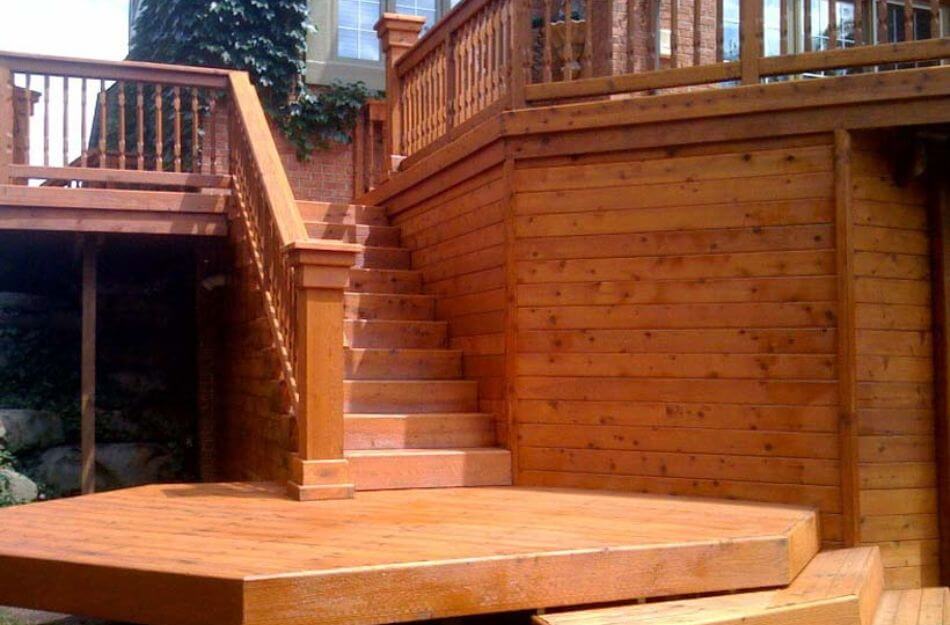
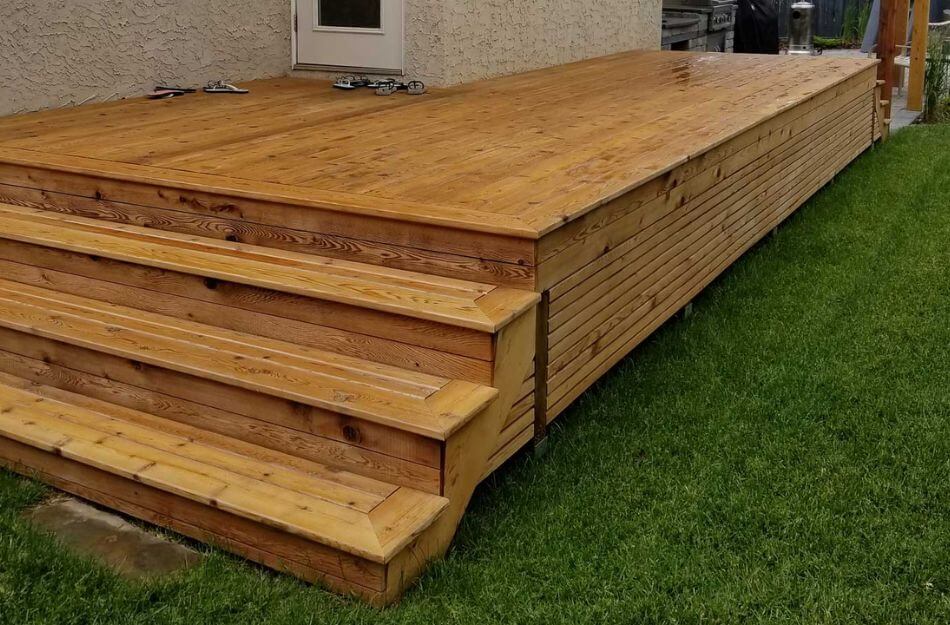
Your new cedar deck must be stained if you want it to last very long. Staining is a practical means of achieving this aim. The procedure can sometimes be complicated and can occasionally become confusing.
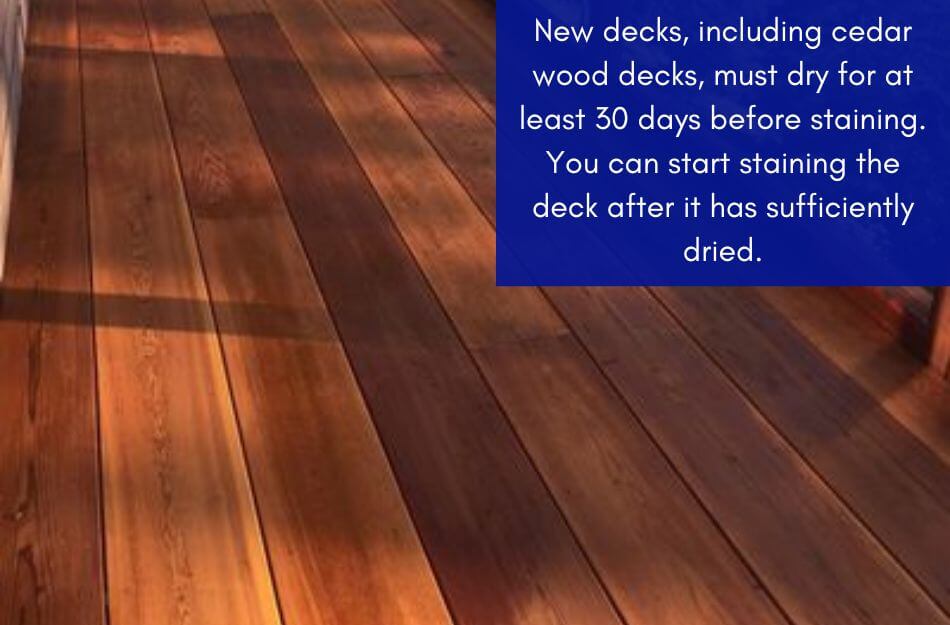
New decks, including cedar wood decks, must dry for at least 30 days before staining. You can start staining the deck after it has sufficiently dried. It will aid in preventing hardwood decks from rotting, warping, or premature aging.

You must be aware of additional variables affecting when to stain and when not to know that you are knowledgeable of the importance of staining a cedar deck on time. Find out by continuing to read the article.
Table of Contents
- 1 Best Time to Stain a New Cedar Deck
- 2 What to Consider When Choosing The Best Stain For Cedar Deck:
- 3 Opacity
- 4 Existing Coating
- 5 Additional Protection
- 6 Application
- 7 How to Stain A New Cedar Deck
- 8 How Durable Is Stained Cedar?
- 9 How Well Does Cedar Stain?
- 10 Is Staining Cedar a Good Idea?
- 11 Which Stain Works Best on Cedar?
- 12 Conclusion
Best Time to Stain a New Cedar Deck
Due to its distinctive structure, color, texture, and design, a cedar deck immediately catches your eye.
However, as time passes, it loses its color and design from constant exposure to bad weather and natural disasters. As you can see from the examples of furnishings, flooring, fencing, etc.,
some elements influence how a freshly installed cedar wood deck will turn out when stained.
The Weather’s Function
Regarding the weather, cedar wood should be stained when the temperature is between 90 and 50 degrees F.
The ideal time of year to stain cedar wood, according to decking experts, is spring because the temperature significantly impacts how quickly the stain dries after application.
Regarding aesthetics, cedar wood is considered the finest deck choice because it naturally repels insects and bugs.
The cedar wood deck will stay shielded from sunlight and avoid early decay or harm if we stain it at the proper time.
Also Read: Best Stain Colors For Pressure Treated Wood
Optimal Time Period
Cedarwood must be stained as soon as it is prepared, which takes time. To determine the answer, you must conduct a preliminary inspection by penetrating semi-transparent stains.
If the spots disappear, you can begin the staining process. If not, wait and complete it.
Additionally, if you wait longer than a year, the wood will likely chip or crack in that case, so staining within two to three months is ideal.
What to Consider When Choosing The Best Stain For Cedar Deck:
Your outdoor deck space benefits greatly from Cedarwood’s luxurious and elegant addition. It is costly, so you wouldn’t want to see it quickly lose its allure and glory.

The value of staining in deck maintenance and the ideal staining season has already been covered.
Choosing the best stain for the freshly installed cedar wood deck is another important factor because it will produce the best results.
A stain can handle the job, whether to protect your investment or enhance cedar with a new color. When choosing the correct product, there are a few factors to consider before choosing the stain.
It is important to remember the kind of stain, the finished appearance, and the current coating. These beneficial details are provided in the following parts to make choosing the best stain simpler.
Intended Use
One of the most adaptable and versatile types of wood is cedar. It functions just as well as a closet lining or blanket chest outside in the weather.
Various methods exist for staining cedar because each application has unique environmental variables.
Any good interior stain will work for indoor tasks like hope and blanket chests or dressers. But it’s best to keep the surface untreated for the interiors of those dressers, chests, or closets.
Because cedar naturally wards off insects, an exposed surface will help protect the bedding and clothing kept inside.
Using the right stain on cedar used outdoors for decks, fences, siding, and furnishings is crucial. These exterior-grade stains contain sealants and will guard the wood against decay brought on by humidity, UV rays, and fungi.
Base
The three stains that work best on the wood are water-based, oil-based, and hybrid. These names allude to the stain maker’s liquid basis to mix the pigments and anti-microbial agents in their formulation.
It’s critical to comprehend their nature and operation.
Water-Based
Water serves as the liquid basis for water-based stains. These stains are simple to apply and remove with just a little detergent and water.

Additionally, they contain little volatile organic compounds (VOCs), so they are less likely to irritate the user’s breathing system when applied. They may only last briefly, though, and they don’t enter very deeply.
Oil-Based
Oil-based stains, including those made with paraffin, synthetic, and plant-based oils, thoroughly penetrate the wood, revitalizing the fibers and defending the surface from the inside.
They can significantly enhance the visual “pop” of the grain, enhancing the appearance of the wood. They can still irritate because of their much greater VOC content, even when used outside.
Mineral liquids are also required for cleaning.
Hybrid Stains
Hybrid stains incorporate elements from both cultures. These stains typically have water as their primary basis and penetrate oils to penetrate the wood.
They typically clear up with mineral spirits and have a lower VOC content than oil-based stains. Hybrid marks aren’t particularly well-known yet.
Opacity
Stains can conceal flaws, highlight the grain, or safeguard without standing out, depending on how opaque or transparent they are. They are available in various transparency degrees.
Clear or Transparent Stains
Clear or transparent stains won’t do much other than reinforce the wood’s fibers and safeguard it from the weather.
If you want to showcase the natural silvery hue of weathered cedar, many DIYers find this degree of transparency ideal.
Semi Transparent Stains
Most semi transparent coatings are clear, but they are frequently colored or tinted to improve the appearance of the surface.
However, they provide protection and a small amount of rejuvenation for cedar areas still in excellent condition. These stains do not effectively conceal imperfections or mismatched grains.
Semi Solid Stains
Semi Solid stains aim to protect the wood while giving it a fresh color. These stains are typically not favored for cedar surfaces because they cover up the grain and characteristics of a cedar deck or fence.
Solid Stains
Solid coatings will cover the grain, imperfections, and knots on a wood surface. They aid in visually blending fixed boards and other flaws entirely, leaving a uniform surface in their wake.
Existing Coating
Any exterior stain may be applied to a newly constructed fence, deck, or siding. However, when refinishing or retaining a cedar surface, the prior coating must be considered when selecting a product.

You can choose between applying an oil-based or water-based stain on a recently finished cedar surface with an oil-based stain. Water-based stains will stick to the surface, and the oil can seep into the wood.
But another water-based product must be used on surfaces already cleaned of water-based stains.
Oil-based stains won’t be able to penetrate previous water-based stains, which will cause them to pool on the top and provide very little protection.
Additional Protection
The main goal of an external stain is to prevent dampness from penetrating wood surfaces and harming them through swelling, buckling, warping, and other effects.
However, some of the finest stains for Cedar provide more defense.
Although Cedar is naturally mildew- and rot-resistant, a stain containing mildewcide will help protect cedar surfaces from fungi’s damaging effects.
The sun is not a deck’s best friend, although many people enjoy using their cedar deck on sunny days.
It’s worthwhile to look for a stain with additional UV protection for cedar decks because they will shield cedar surfaces from the harm caused by strong UV rays.
Application
Although using the best stain for Cedar is simple, a little preparation and knowledge can help to ensure a high-quality result. The following advice will make the job go more smoothly:
- To prepare the surface: scrub it thoroughly with a scrub brush and an external wood cleaner. When the deck has dried, swiftly sand away any strands that remain.
- Apply the stain: Cover the entire surface with the stain using a roller and brushes. To prevent dry edges or missing areas, work in small portions. Work in larger sections when using a sprayer, but make sure it covers each section’s edges.
- Maintain a wet edge: Maintain a wet edge when staining or painting to prevent lap lines and dry spots.
- Use a second layer if more than one layer is required; wait until the stain has dried. Penetrating stains can be covered with a sealer, but most exterior-grade goods already have sealers.
How to Stain A New Cedar Deck
A staining procedure gone wrong can occasionally cause more damage than good. So, to avoid this, you should think about the following factors:
Setup and Cleanup
Prepare the board for staining first. Start using a cleaner and cloth to wipe off dirt and grime from its surface.
Without cleaning it first and staining it directly, dust will get trapped underneath the stain and eventually cause it to peel off. Additionally, your surface will be blotchy.
If you don’t have a wood cleaner, use a warm water and dish detergent solution instead; rinse it off thoroughly and wait a few hours before sanding.
Sand the Wood
Start with medium-grit sanding paper and gradually work up to 220-grit when the surface is smooth. Sanding causes the surface’s microscopic pores to expand, facilitating absorption.
Sanding also removes flaws like splinters in the wood, giving you a smooth finish.
You can use a manual sander for sanding small surfaces like furniture, but a power sander is required for bigger surfaces. When you’re finished, vacuum or clean the area of any remaining dust.
Apply Pre-Stain Conditioner
Apply your pre-stain conditioner once the surface is flat. Make sure your pre-stain conditioner is compatible with the stain of your choice.

If not, the stain will be adequately absorbed. Purchasing a pre-stain conditioner from the same manufacturer as your wood stain is a good method to guarantee this.
Manufacturers frequently produce them in sets so that you can purchase the whole collection. On the Cedar, just one thick layer of pre-stain conditioner will do.
Before coloring, allow the conditioner to dry completely. Frequently, at most, six hours are needed.
Apply a Single or Double Coat
Use a paint mixer to prepare your wood stain while the wood conditioner is drying. It aids in creating uniform jackets.
Apply at least 1 layer of stain using a pointed paint brush or rag after the conditioner has dried.
Apply the stain in long strokes from one surface end to the other, carefully encompassing all wood imperfections.
If necessary, apply up to three coats of wood stain; remove any extra color within 30 minutes of application. Overnight drying is advised for the wood paint.
Finish Sealing
Once the finish has dried, it is suggested that you seal it to add the weather-resistance coating. You can use a wood sealant or water-based polyurethane.
How Durable Is Stained Cedar?
When placed outdoors, stained Cedar lasts between one and three years; when installed indoors, it lasts between five and ten years. You should stain the wood again when the surface begins to chip or peel.
The finish will last longer if the wood is routinely cleaned and maintained.
Because cedar wood is exposed to harsh circumstances and the elements when stained outside, the finish lasts only a short time. A stained Cedar deck will typically last for two years before the stain begins to peel off.
How Well Does Cedar Stain?
Cedar dyes fairly well. Cedar has four staining choices: clear, natural, opaque, and semi-transparent. A stain can stop Cedarwood from aging due to moisture, mildew, and ultraviolet radiation.
Before staining, Cedar is given a smooth surface by sanding and applying a wood conditioner, which enhances the wood’s inherent beauty.
Is Staining Cedar a Good Idea?
Cedar makes a beautiful stainable wood. It is very stain-resistant. Cedar should be stained to stop the wood from weathering and graying due to UV radiation, dampness, mildew, and other climatic changes.
Stain can give the wood a nice, smooth, and glossy finish while protecting it from the elements and enhancing the inherent attractiveness of cedar wood.
Staining within the first two to three months after installing or making Cedar woodwork or furnishings is best to prevent the wood from splitting, chipping, and peeling. Your Cedar will look nicer if you stain it sooner.
Which Stain Works Best on Cedar?
The finest stain for Cedar is water-based. Water-based stains can enhance the inherent beauty of Cedarwood by giving it a rich, deep color.
It protects against environmental hazards like moisture, UV rays, and temperature change.
Stains made of water are simple to remove. After soaking it in soapy water, all that is left to do is wipe off the surface with a soft towel. Additionally, some oil-based dyes perform admirably on Cedar.
They typically outlast water-based stains in terms of longevity. However, oil-based stain surfaces are challenging to keep clean and maintain.
Conclusion
Spring is the ideal time to paint cedar wood. Additionally, a transparent stain is preferable because it is simple to apply and erase.
A dry area is required for cedarwood staining. Cedarwood must first be sanded before being stained or varnished in our chosen color.
Recent Posts
Although deck sealing may not be at the top of your summer to-do list, you shouldn’t put off a task.One such deck that channels the opposite of the lively and enjoyable vibe you want from an...
Any home would benefit from having a deck because it adds more area for socializing, relaxing, and outside activities.Garden decking that has been properly polished can be elegant and lovely. It...
