If you are a house owner looking forward to ways which can improve the property’s appearance, increase its value, and serve a certain purpose, installing a deck is your best option.
However, the costs of deck building services have skyrocketed, and it is near impossible for a common person to afford top-notch materials, regular maintenance, and professional services.
Hence, the cheapest way to build a deck is to build it yourself. Professional deck builders charge thousands of dollars when building a deck according to your requirements.
On the other hand, you can do the task with almost half the budget without having to cut deep into your pockets.
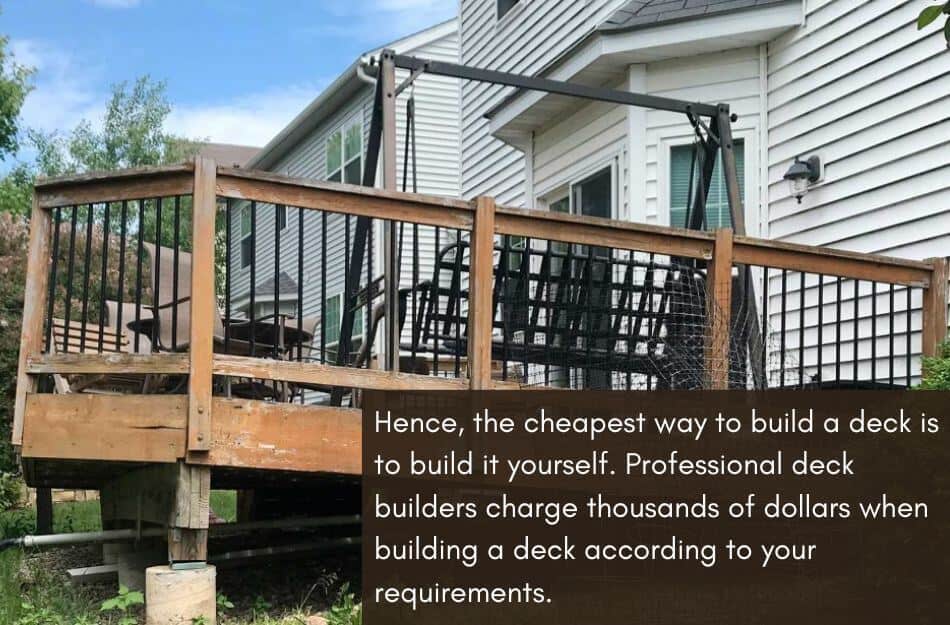
Table of Contents
Building A Deck Yourself | A Complete Guide
Many people cancel their deck-building plan because of the price quotations they get from professional deck builders.
But we have some good news for you. Building a deck and saving all the money you’re scared to spend is possible.
Firstly, you would have to decide what type of deck you want. You can build a deck in several ways:
- Using Deck Blocks
- Using Post Anchors
- Floating Deck
Speaking categorically, we can sum these up into two categories; digging and non-digging methods.
Also Read: Deck Posts In Concrete Or On Top? Which Is Ideal?
Non-Digging Methods

Deck Blocks
Deck blocks are the most common and oldest ways of building a deck. These are concrete blocks that are meant to hold the structure underneath.
They are easy to use and extremely functional, allowing you to build a reliable base that can provide stability and strength to the platform above.
There are primarily two types of deck block; The first type has an indentation on the top. This is specifically for a 4×4 post to be fixed in place.
The second type has a cross-shaped indentation to support the beam directly. This eliminates the need for intervening posts.
The average height of these blocks is around seven inches, meaning they have enough tensile strength to hold your deck. Each block would cost you around $12.00 approximately.
The number of blocks required depends on the size and design of the deck you want to build.
When you place the deck blocks, keep the spacing between them similar to deck posts. The deck height should be at most five feet from the deck blocks.
A common problem deck builders face is that the indentation on the blocks is bigger than the beams themselves; hence the format is only stable once two beams are tied and fixed together.
Hence, it makes the process a two-person job, so ensure you have someone to help you if you are starting this project alone.
If you’re wondering how the deck will stay in its place and how the wind will not affect it, the answer is quite simple; the weight of the deck.
The forces acting downwards are greater than those acting sideways on the deck.
However, you need to ensure that the place you’ve chosen for your deck is not prone to soil erosion, as if it is the case, it might affect the sturdiness of your platform’s base. Here is a summary of all the points discussed above:
- Place the deck blocks at appropriate distances from each other.
- Place the beams into the indentations on the blocks; remember, this is a two-person job.
- Once you have the posts ready, start building a platform on top but ensure it is at least 5 feet above.
Floating Deck
If you are short on budget, a floating deck is your best choice as it does not involve beams or blocks, reducing the construction cost significantly.
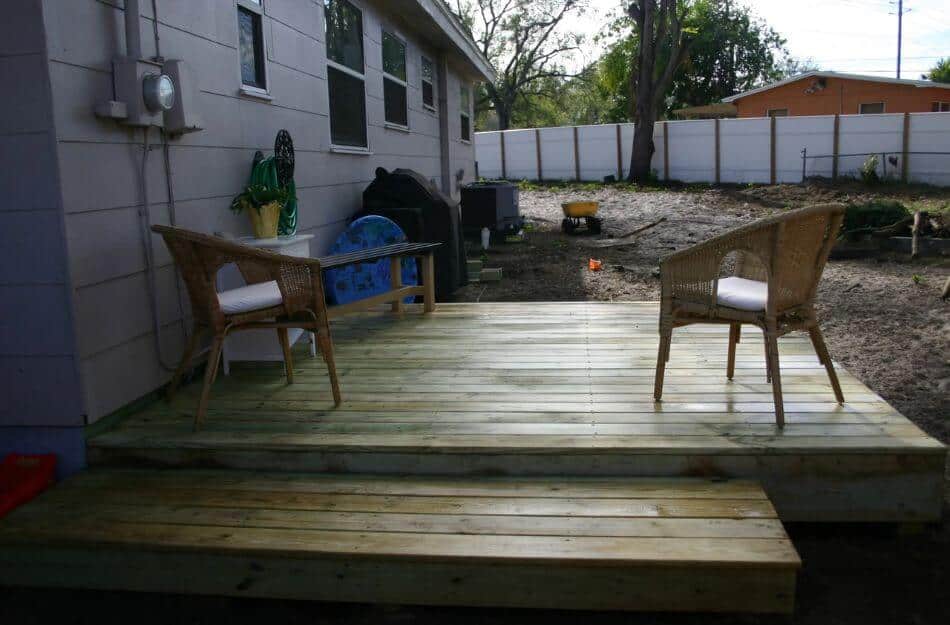
The floating deck is built directly on the ground and does not need digging or elevation, saving time and money.
However, it would be best if you kept in mind that the floating deck will not be as protected from the dangers as other types of decks.
As it is built directly onto the ground, it is prone to humidity, weed attacks, other infestations, and much more.
But worry not, as we shall guide you on countering these problems and making the best of your deck.
Firstly, mark the area you want to build the deck on. This would be the same as the dimension you have decided for your deck, but it is sensible to leave some extra margin just in case.
Next, you must cut the wooden boards according to the required measurements. You need to build a joist base on which you will build the deck with the remaining wood panels.
Suppose you want your deck saved from weed attacks and other infestations.
In that case, you should treat the soil under the platform of your deck and the surroundings to ensure that all such risks have been successfully eliminated.
Besides, it is better to place weed control fabric under your deck to ensure that it faces no harm. Moreover, once you’ve built the joist base and made the structure sturdy enough, it is time to build the floor.
Cut the wood panels to the length you have decided and start placing the boards on the joist structure to create the flooring. Remember that you must leave some spacing between the boards to allow drainage.
Building a sloped deck is difficult as you are building directly on the ground; hence, a leveled deck with spacing is your only choice.
Related: Deck Building Over Septic Tanks: Safety, Feasibility, & Tips
Leave around 3mm to 5mm on the ends and 8mm to 10mm on the sides of the boards.
However, the exact measurement would be derived according to the size of your deck, the number of boards, and the type of wood you are using.
Additional advice here is to use composite wood for a floating deck. As your deck is already exposed to many dangers, it is wise not to use softwood for this purpose, as it would quickly give in to them.
Hardwood or composite wood is your best choice as they are strong, resist weather extremeness and humidity, and do not give in to infestations easily. Here is a concise form of the points above:
- Mark the area you want to build the deck on. This would be the same as the dimension you have decided for your deck, but it is sensible to leave some extra margin just in case.
- Put a weed control fabric underneath to protect your deck from infestations.
- Cut the wooden boards according to the required measurements and build a joist structure accordingly.
- Cut the inner wood panels to the desired length and start building the floor. Remember to leave some spacing between the boards, around 3mm on the ends and 8mm on the sides, to allow drainage.
- As you build on a septic tank site, use composite wood, which is long-lasting and stronger.
Digging Methods

Post Anchors
As the name defines, post anchors are posts hammered into the ground at one side with brackets that fit into the joist structure with screws to hold the platform together and make it steady.
They are extremely functional and bring along many other benefits. For instance, they save your wooden structure from direct contact with damp soil.
Resultantly, weed plants, humidity, and termites can no longer access your deck.
The foundation provided by the post anchors is quite robust as they are hammered into the ground through a base plate, preventing the posts from swaying around in the wind or rain when the soil underneath becomes soft and moist.
You need to place the posts into their position with ample spacing according to the size of your deck. Then hammer the deck plate into the ground using a jackhammer.
This is necessary to get a firm grip under the ground; once the base plate has touched the ground, fix it into the brackets with a screw, and you can build your deck on top of it.
Deck posts provide a stronger base than deck blocks as they are fixed into the ground. Besides, they are more in-budget options than deck blocks because fewer posts are required. Here is a summarized crux of the points:
- Place the posts into their position with ample spacing according to the measurements of the size of your deck.
- Hammer the posts into the ground using a jackhammer to secure them.
- Once the base plate has touched the ground, you must stop hammering and fix the posts into the brackets through screws.
- Do a final height inspection so you are sure that the deck will be built at such a height that it will not disturb any activity related to the septic tank.
Wood Types
There are several wood types that you can choose from. Make sure you select your wood type smartly, as it can affect your overall costs and future maintenance costs.
Natural Softwood
Softwood is not a good idea if you want your deck to be strong and long-lasting. Softwood does not have the level of strength and resistance against moisture, weather conditions, or infestation.
Although it would be the cheapest option, it will only last a while.
Natural Hardwood
Depending on which hardwood you choose, it can be quite reasonable and give value to your money.
Hardwood is more robust and exhibits greater strength. Besides, if you use it with stainers or sealant, you will have a sturdy deck in no time.
Composite Wood
Composite wood is not entirely natural; it is chemically treated for various purposes such as strength, anti-decaying properties, etc., and contains other composite materials such as plastic and PVC.
Although it is the most expensive, it is also the most durable and reliable type of wood you can have for your deck.
The maintenance cost of composite wood is extremely low, which makes it a suitable option for long-term use.
Don’t Miss: Can You Build A Deck Over An AC Unit? The Uncovered Method
Select The Right Time of The Year
We all know that summers and springs are high for deck building. Most people build or get their decks in these seasons as it offers the most functionality.
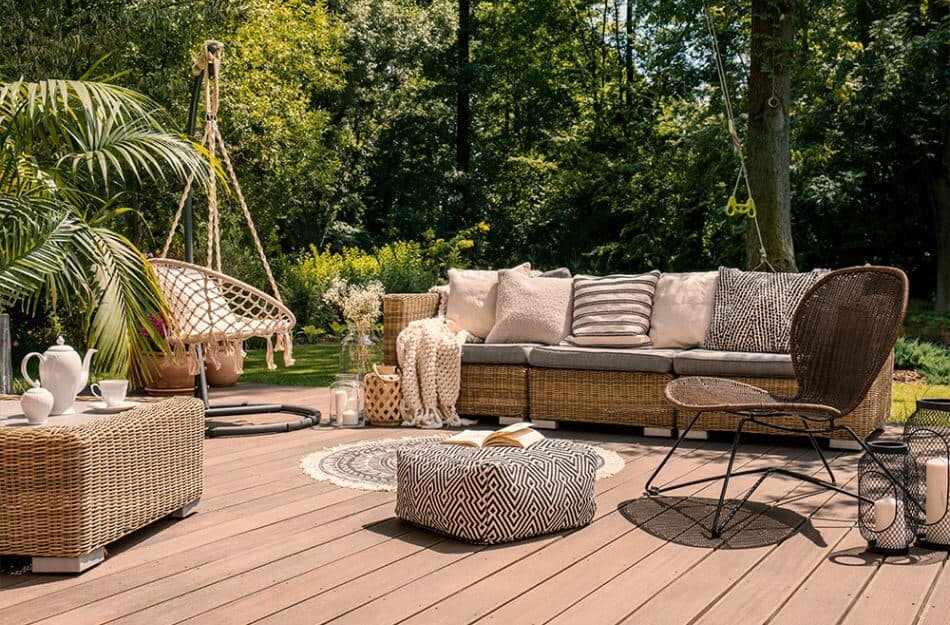
However, with a surge in demand, the prices of wood and services also skyrocket, making it very hard to afford.
Hence, consider starting your deck-building project in winter or autumn to save money. This will give you an edge over service charges and construction material costs and save you a lot of money.
If you are worried about the durability of the wood, you don’t need to worry as long as you are using high-quality hardwood or composite wood, as they can withstand harsh weather conditions.
Step-By-Step Building Guide
Building your deck is quite a simple process, but it needs a thorough brainstorming session.
You need to think things through because if you plan better, you will execute better. Here is a step-by-step guide on how to lay decking on grass.
Mark The Area
The first step in this process is to identify how much area you are planning to cover with your deck. This will decide the amount of decking you require and the number of boards, joists, and screws you would require.
Firstly, measure the area you want to cover with decking in square meters. You can easily do that by measuring the length and width of the area and multiplying them by each other.
Estimate The Amount of Decking Required
Before estimating the amount of decking, you must remember that spacing between the boards must allow the boards to expand and contract according to the weather without destroying your deck.
This is also necessary to create a drainage system, so if it rains, the water doesn’t float on the surface of your deck but falls.
To identify the amount of decking required, you must figure out the number of boards you need
A basic formula to do that could be to divide the decking area by the area of the board and multiply it by 1.5 to factor in wastage and spacing.
The spacing required between boards is variable according to the type of wood used in boards. Hence, you must ask about the amount of spacing required while buying the boards.
Level The Ground & Restrict The Area
Now that you have the exact number of boards and the area you must cover, it is time to start taking action.
First, you must restrict the area with the builder’s line or tape to keep unwanted people away from the site. This is necessary for safety as well as your peace while working.
Once you are done marking the land out, you must level it. Leveling means you must clear away any weed plants, rocks, garbage, or other things that might cause trouble once you start the building process.
You must also remove any turf on the ground and ensure it is level before you start to avoid any inconveniences afterwards. Digging up to 50mm and using a spade to level the surface is best.
You can use a spirit level to ensure the ground is flat so your deck won’t feel uneven afterwards.
Use Protection
Wood is prone to humidity, woodlice, and many other factors; hence, protecting your deck from all these unwanted nuisances is necessary.
For this, you would need to cover the entire area with weed-control fabric to avoid this problem later on.
Once you’re done with that, add a layer of gravel (40mm to 50mm) on top of it so no humidity will reach the deck. You can also use risers to ensure the deck doesn’t touch the ground to keep it extra secure.
Measure And Cut The Boards
Now that you’ve squared up the site, it is time to start building. Measure your boards and mark them to the size they should be cut. You can use a square centimeter to be more accurate.
Cut the birds using a manual or automatic saw suitable for the job.
Create A Joist Base
Place four boards to square up the area you want to cover and join them with joist hangers. Then, placing shorter boards inside this frame perpendicularly would be best to create a joist base for your deck.
You can also opt for a diagonal arrangement of inner joists. Still, it will make your job more complex as you have to cut different lengths of inner joists.
The outer joists will be 4, no matter the size or design of your deck; however, the number of inner joists might vary depending on how big your deck is and the arrangement of boards.
The spacing between straight inner joists should be at least 450mm, while for diagonal arrangements, it has to be around 300m.
Mark the points where two outer joists meet inner ones at 90 degrees, as this is where the coach screws will be placed; these should be eight in total, two in each corner of the outer joists of the frame.
Drill recesses on these marks so that the screws do not split the wood and the heads are decently inside, so there aren’t any chances of them popping out. Now you should screw in the coach screws to tighten the adjacent joists.
Make sure that the boards used in the joist are placed vertically. Once you’ve completed the base and connected the structure with joists and decking screws, it is time to proceed to the next step.
Build The Deck Floor
Once the frame is ready, it is time to lay the boards. An easy way to understand this is to start at one end and lay the boards perpendicular to the inner joists (parallel to the outer joists).
Mark the ends of the boards with a pencil. Each side of the board should be held by two screws that must be 20mm distant from the edges and 15mm away from the end of the board.
Once you’re done with your first board, the process becomes quite easy. All you have to do now is leave the expansion room and place the next board, then keep repeating the process until you have successfully installed all the boards.
Dry Runs Are Always Safer
If you still need to decide whether your deck will turn out attractive or if you can make it properly, you should perform a dry run.
You can cut the outer joists according to the required measurements and place them together in the desired area.
Now, place your furniture inside the frame; you can put it on bricks or concrete blocks to get an idea of elevation after construction and see if you like the look.
You may not like the look or want to make minor adjustments to the size or the designated area.
Hence, it is better to dry run rather than cry over a poorly-built deck. Besides, you can always read our guide again if you need clarification.
Protect Your Deck With Sealants
Seal It
If you want your deck to retain its color, shine, and sturdiness, despite all the heat and moisture coming from the AC Unit, it is best to seal it as soon as possible.
Besides, it would be a good idea to seal the wooden posts or beams too so that they won’t get damaged by constant exposure.
UV & Fade Resistant: These sealers work excellently to save the color and shine of your deck and ensure that it always looks lush. They save the deck from UV rays and the heat emitted by the AC unit.
If the deck is to be built over the unit, it is best to seal the bottom side to protect it from the heat from underneath.
Waterproof: Waterproof wood sealers are extremely both for the rainy season and to repel the moisture from the AC Unit.
Final Thoughts
If you’ve been holding back your deck-building project due to budget restraints, now’s the time to fulfill your dream.
Our comprehensive guide will help you navigate the entire process easily; hence, you won’t have to worry about paying hefty sums of money to service providers.
So what are you waiting for? Start your deck-building project today so you can enjoy your morning/evening as soon as possible!
Recent Posts
Although deck sealing may not be at the top of your summer to-do list, you shouldn’t put off a task.One such deck that channels the opposite of the lively and enjoyable vibe you want from an...
Any home would benefit from having a deck because it adds more area for socializing, relaxing, and outside activities.Garden decking that has been properly polished can be elegant and lovely. It...
